
Eleven Thousandths: Anatomy of a Duel — Hamilton vs Antonelli at Silverstone
Two laps that look nearly identical on paper, yet were built in completely different ways. A data-driven breakdown of how Lewis Hamilton edged out Kimi Antonelli by just 0.011 seconds in Sprint Qualifying.
A margin barely longer than the blink of an eye separates the two fastest laps of the session: 1:28.376 for Lewis Hamilton against 1:28.387 for Kimi Antonelli, a gap of 0.011 seconds. On paper, that looks almost trivial. But trace the speed, braking, throttle and gear data of both laps side by side, and it becomes clear this was no simple carbon copy. Each driver built his lap differently, losing and gaining time in very distinct sections of Silverstone.
A contested opening, corner by corner
The gap between the two drivers starts swinging from the very first corners. Antonelli picks up a few hundredths through the opening complex, benefiting from a slightly cleaner entry line. But the picture flips sharply through the tight sequence of turns 3 and 4, where Hamilton claws back the advantage decisively — it’s in this slow, technical section that the Ferrari driver builds much of his cushion. By the exit of turn 5, the two laps are back to being almost level, as if this opening skirmish had simply reset the scoreboard.
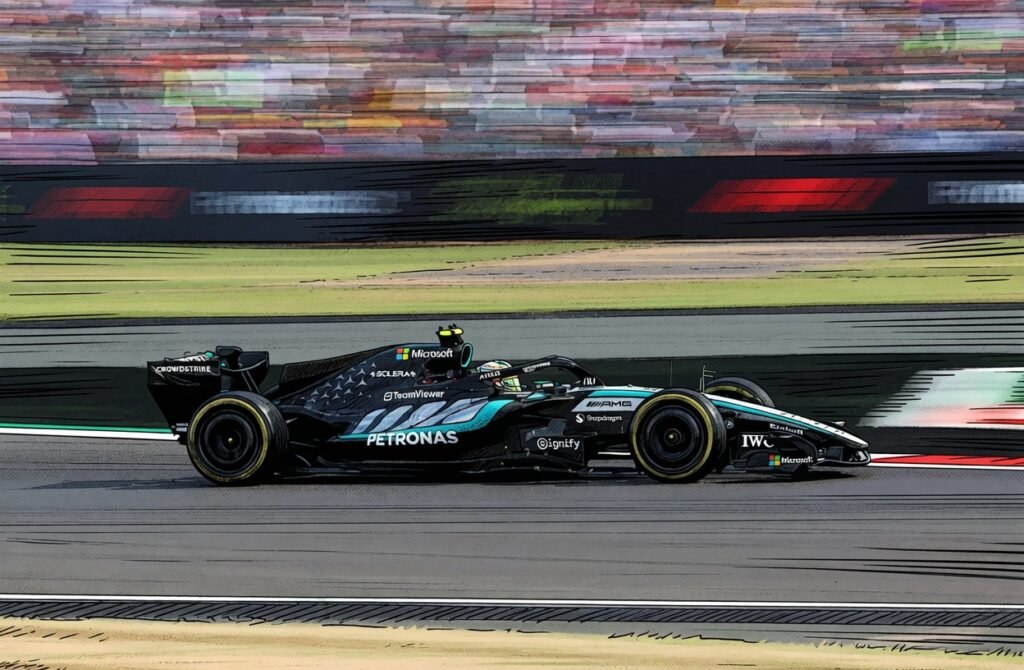
“I love this place, I love this crowd.”
Lewis Hamilton, Ferrari
Braking: almost perfectly overlaid
What stands out most in the comparison is just how closely matched the braking points are. At every corner on the lap, both brake traces engage and release at virtually the same point on track, with no meaningful offset anywhere. The same holds for the speed traces, which sit nearly on top of each other through every acceleration and braking phase alike. The difference, then, isn’t coming from braking aggression or how late either driver leaves it — it’s coming from traction efficiency and pace management through the heart of the corners.
The middle sector: where pole position was decided
The central portion of the lap, between turns 8 and 13, tells a completely different story. This is where Antonelli steadily, without any single dramatic moment, bleeds away the bulk of his early advantage. The delta trace climbs almost continuously through this long stretch, peaking around turns 13 and 14. One technical detail stands out right at this point: Hamilton lifts slightly earlier, with a sharper brake spike than Antonelli, suggesting a different approach to the entry of this decisive zone.
What the telemetry reveals
The final sector fightback
Nothing was settled yet, though. As soon as the lap crosses the final sector marker, Antonelli launches a spectacular recovery: the delta trace drops sharply between turns 14 and 16, erasing within seconds the entirety of the time lost earlier, and briefly putting him ahead of Hamilton’s pace. That gain doesn’t hold all the way to the flag, however — a symmetrical rise in the trace through the turn 16-17 sequence chips away most of that advantage, bringing both laps back to a knife’s edge for the sprint to the line.
One other detail separates the two approaches without affecting the final time: through the central part of the lap, Hamilton runs a longer gear than Antonelli over the same stretch of track, which translates into a noticeably lower engine speed on the Ferrari at that point. Yet both drivers reach very similar speeds there, suggesting a difference in setup or gearing strategy rather than a raw power deficit.
- Both laps show virtually identical top speeds across the entire circuit.
- Braking is the most stable element of the comparison, with no notable divergence at any corner.
- The middle sector (turns 8 to 13) is what cost Antonelli pole position.
- The final sector let the Mercedes fight back into contention, though not quite enough to flip the result.
In the end, these eleven thousandths of a second don’t tell the story of one driver being faster everywhere, but of one driver being more efficient in the right place at the right time. A fairly accurate summary, in fact, of what separates pole position from second place in Formula 1 today.
Sources
- FIA.com — Official Sprint Qualifying report and full classification, 2026 British Grand Prix
- Motorsport.com — What disappointed Kimi Antonelli after being beaten to pole position in British GP sprint qualifying
- Formula1.com — Hamilton reacts after securing Silverstone Sprint pole as he assesses competition
- GP Tempo — Comparative telemetry tool (unofficial fan project), lap 13 (Hamilton) and lap 14 (Antonelli), 2026 Sprint Qualifying
Discover more from f1liveupdates.com
Subscribe to get the latest posts sent to your email.